
8 min. read
What is a chatbot?
A chatbot is a computer program that simulates human conversations through messages. Chatbots can be used for various purposes, mainly as customer service or virtual assistants. They can be integrated into websites, messaging apps, and other platforms to respond instantly to user queries. More advanced chatbots use artificial intelligence (AI) to understand natural language and provide more accurate and relevant responses. You can learn more about the different types of chatbots here.
Why add a chatbot to your website?
Adding a chatbot to your website can provide several benefits, such as:
- 24/7 customer support: Chatbots can respond instantly to user queries at any time of the day.
- Increased engagement: Chatbots can engage users in interactive conversations, keeping them on your website longer.
- Improved user experience: Chatbots can help users find information quickly and easily, improving their overall experience.
- Cost-effective: Chatbots can handle many inquiries without human intervention, reducing costs.
- When paired with a knowledge base: Chatbot can provide accurate and relevant information to users.
What do platforms like OpenAI, Anthropic, and Cohere offer?
These platforms offer AI models for natural language processing, also known as NLP. These AI models can understand human language and generate text based on that understanding. To communicate with these languages, we use a public API, which all of these platforms offer.
Can you use these platforms to add a chatbot to your website? Yes, you can, but you must build the chatbot yourself.
Building a custom chatbot for your website involves several steps, including training the chatbot with your data or using a technique called RAG for answering questions based on knowledge stored in what we call a vector database, the chatbot should have access to this database to be able to find answers to your user's questions. Another essential part of creating a custom chatbot is configuring its behavior or personality to match your brand's personality.
Also, you need to manage the hosting of a public API that communicates with the AI model; this is to ensure that the chatbot can handle traffic spikes with rate-limiting, is secure from malicious requests, and does not expose your AI model's API keys.
What good is a chatbot if you can't see how it is performing? You need a dashboard where you can see the chatbot's performance, like how many users are interacting with it, what questions are being asked, and how the chatbot is responding to those questions.
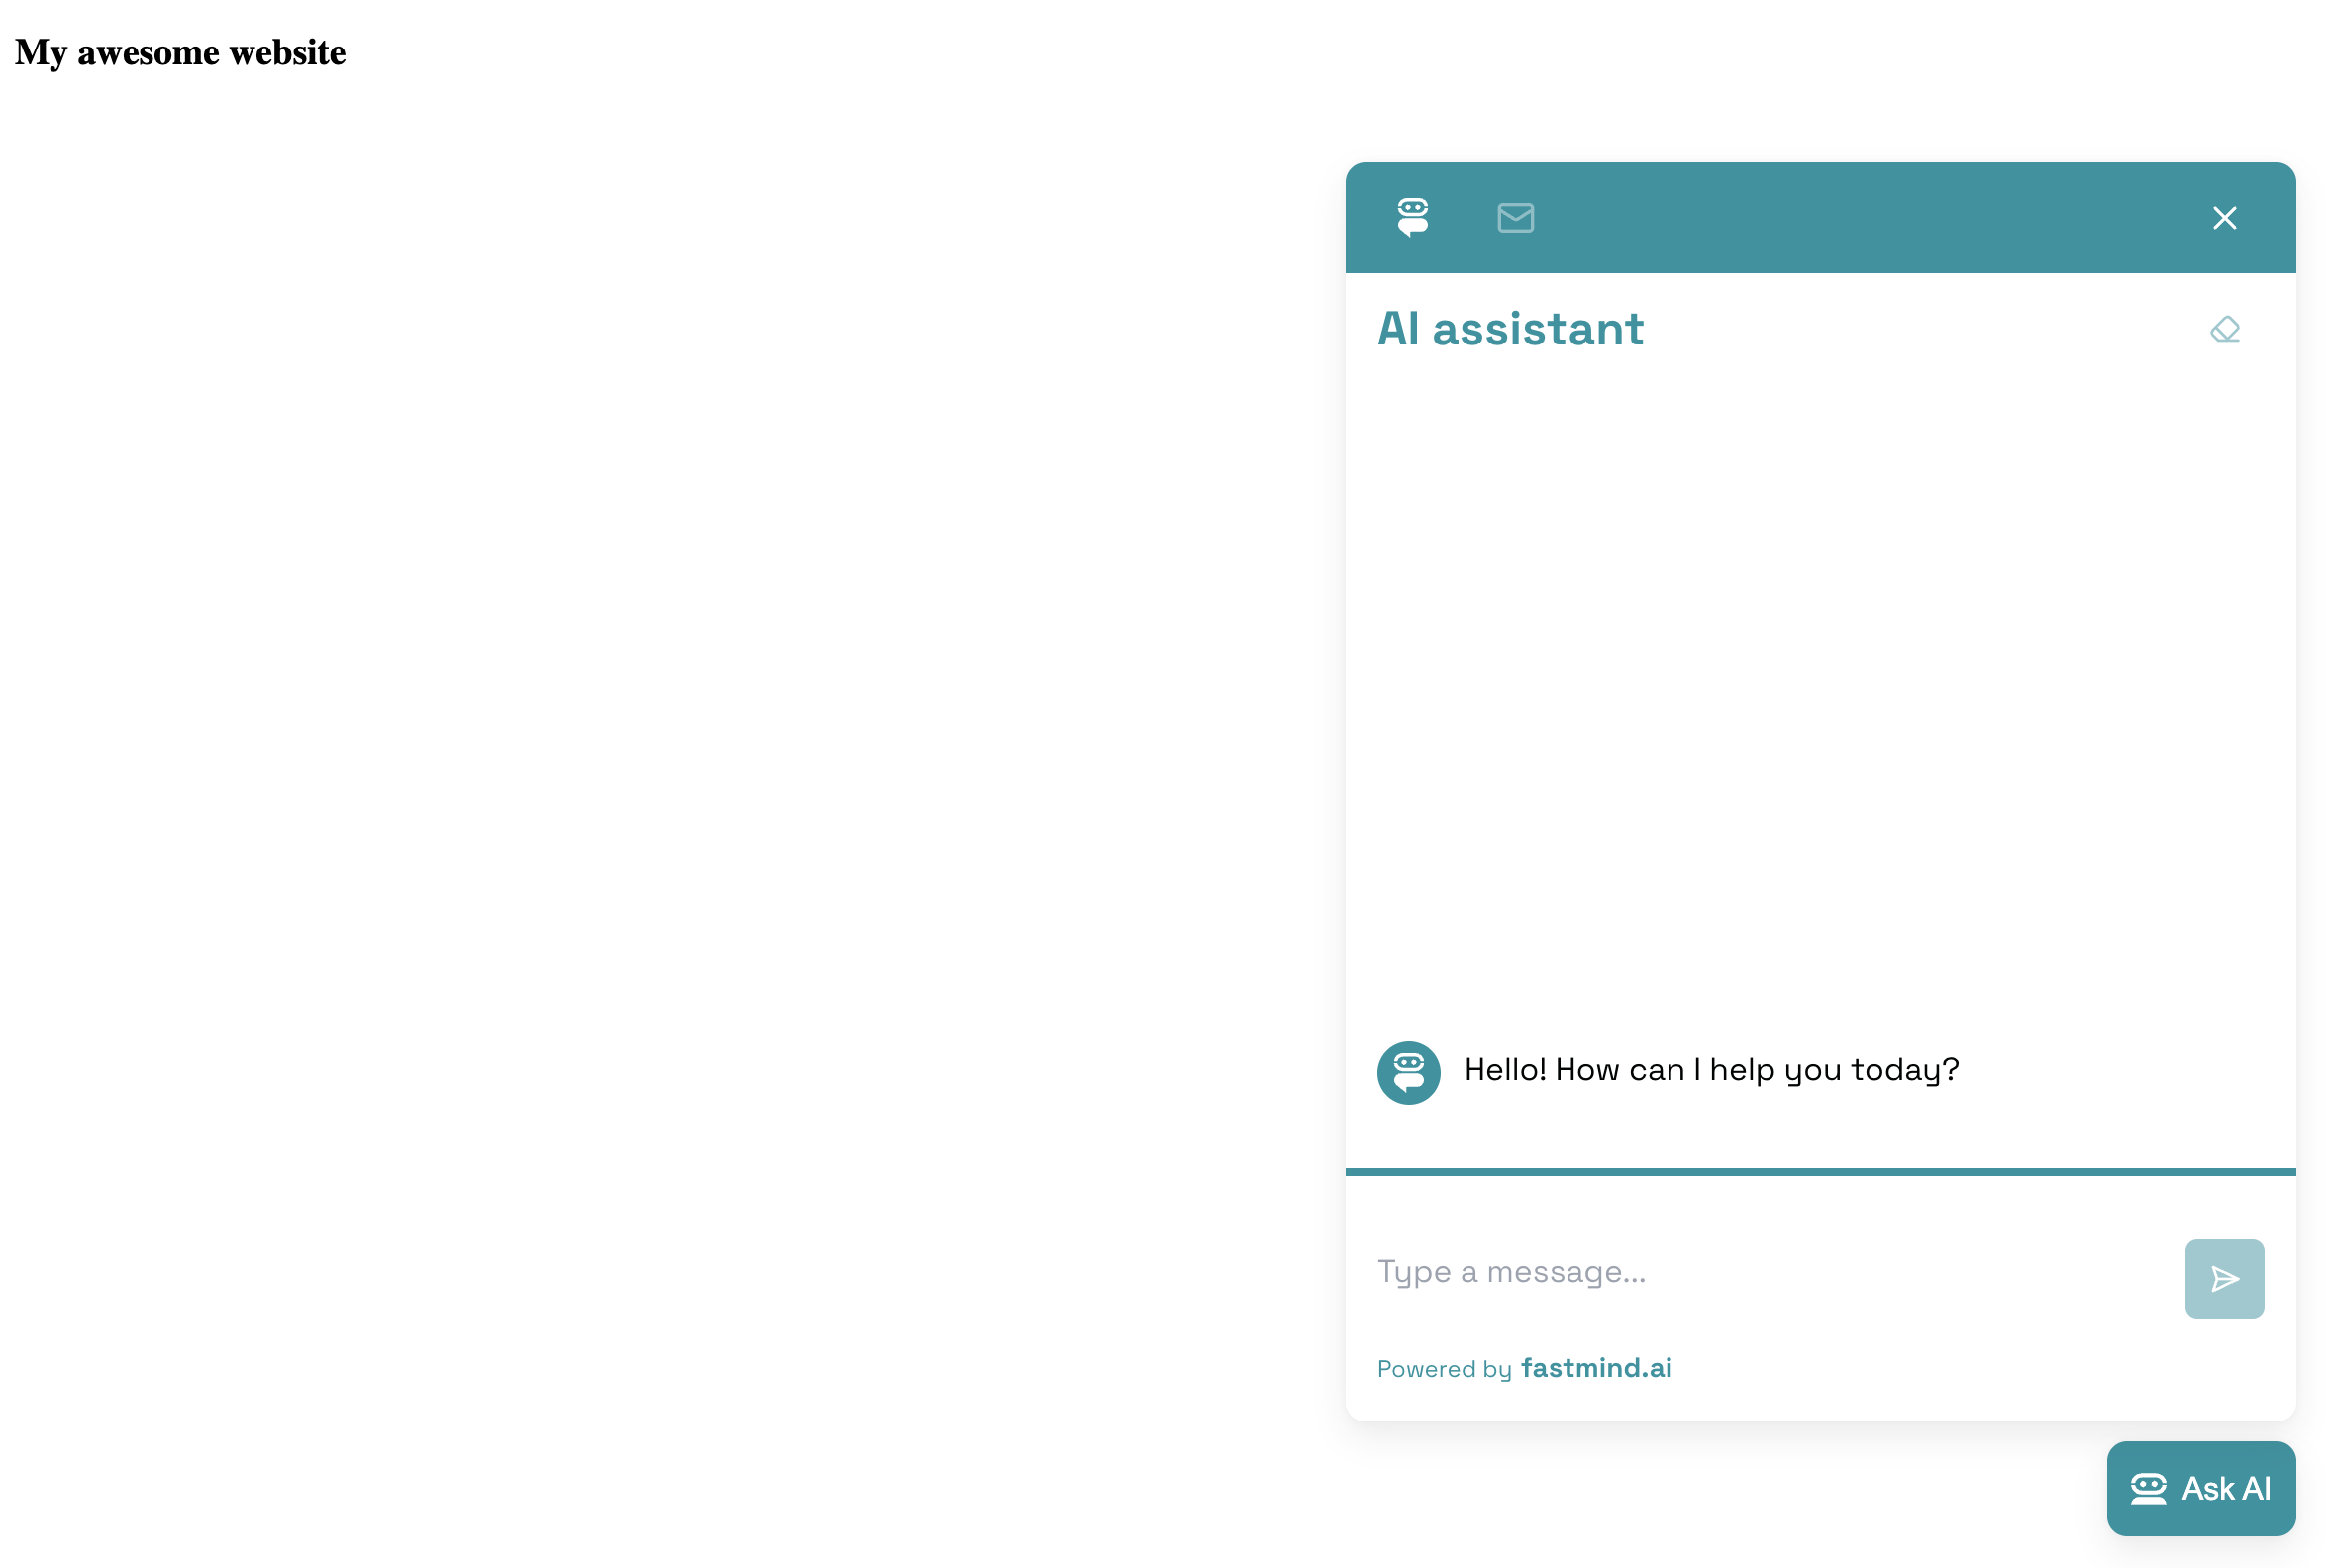
Now, we need to build the chatbot's interface. This is the part that the user interacts with. It can be a chat window or a chat bubble that appears on your website. The chatbot's interface should be easy to use and visually appealing to the user. Some excellent features are the ability to change the chatbot's appearance, like the color scheme, the welcome message, and persisting the chat history.
Finally, we will need to add the chatbot to the website; this can be done by embedding the chatbot's interface into the website's HTML code.
Adding a custom chatbot to your website using Fastmind.ai
As you can see, building a custom chatbot for your website can be a complex process, but it doesn't have to be. There are platforms like Fastmind.ai that make it easy to create and add a chatbot to your website in just a few steps. In the next section, we will show you how to add a custom chatbot to your website using Fastmind.ai in 4 easy steps.
Prerequisites
- A Fastmind.ai account. You can create one here.
- A website where you want to add the chatbot. We will use a simple HTML page for this guide.
- Basic knowledge of HTML and JavaScript.
- Five minutes of your time.
Step 1: Create a chatbot
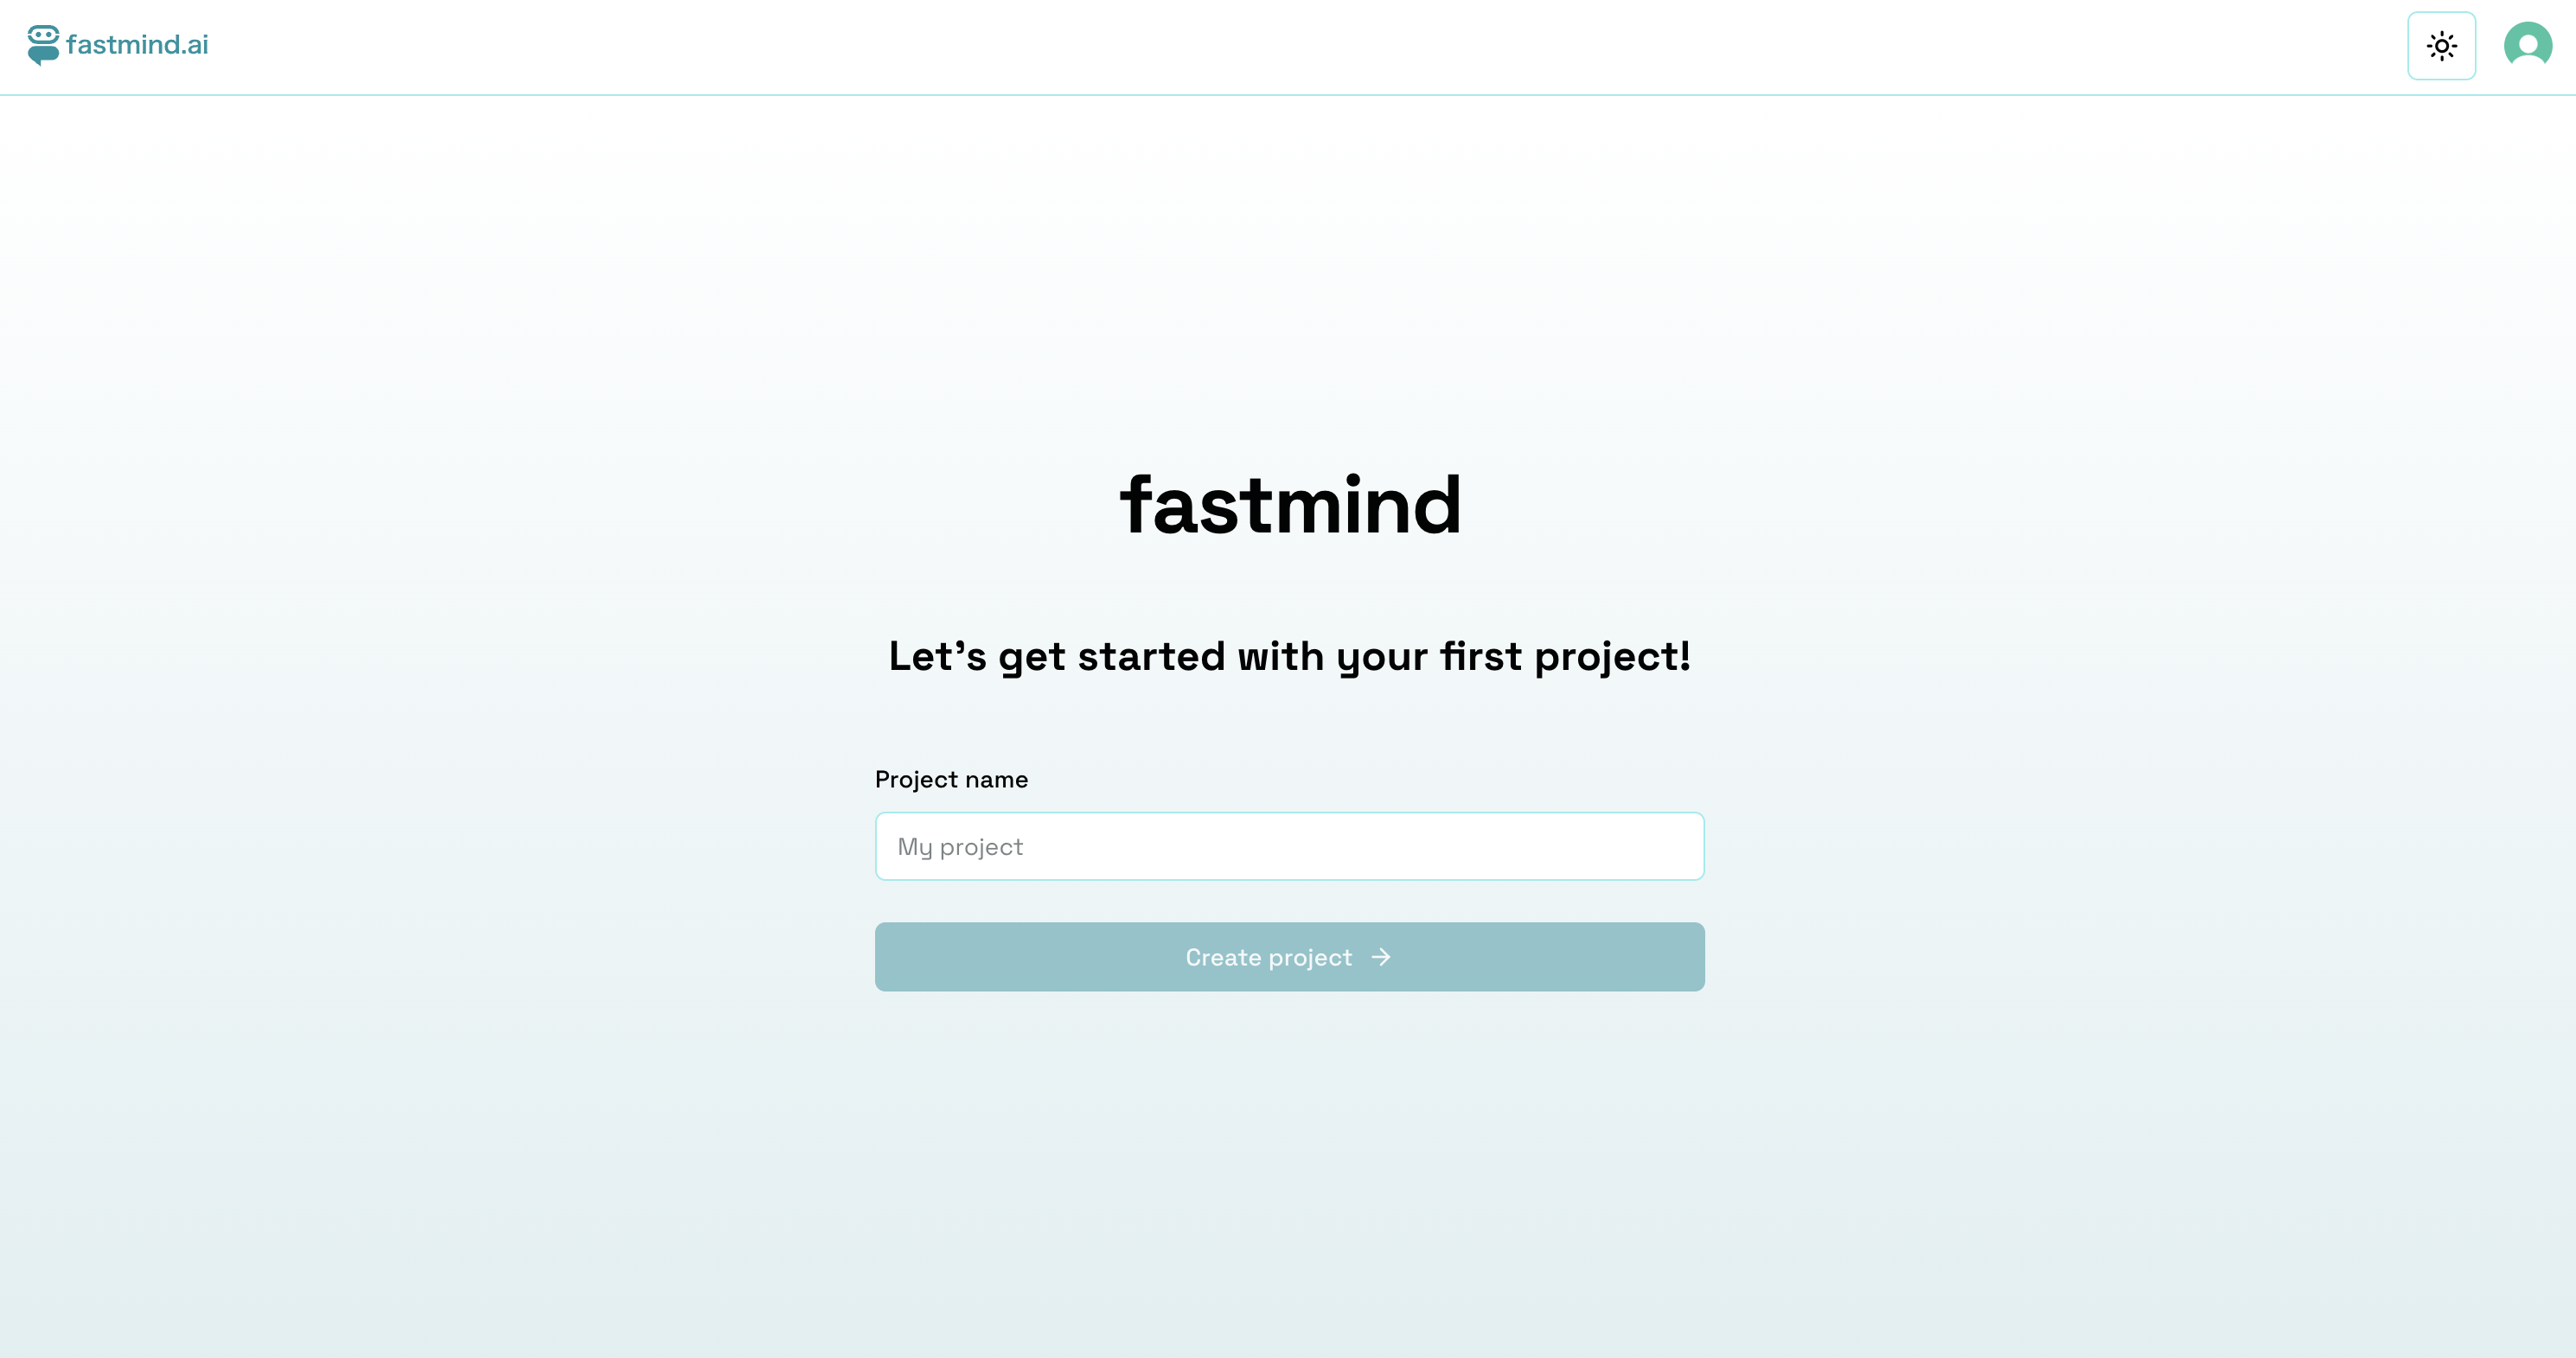
Log in to your Fastmind.ai account and name your project.
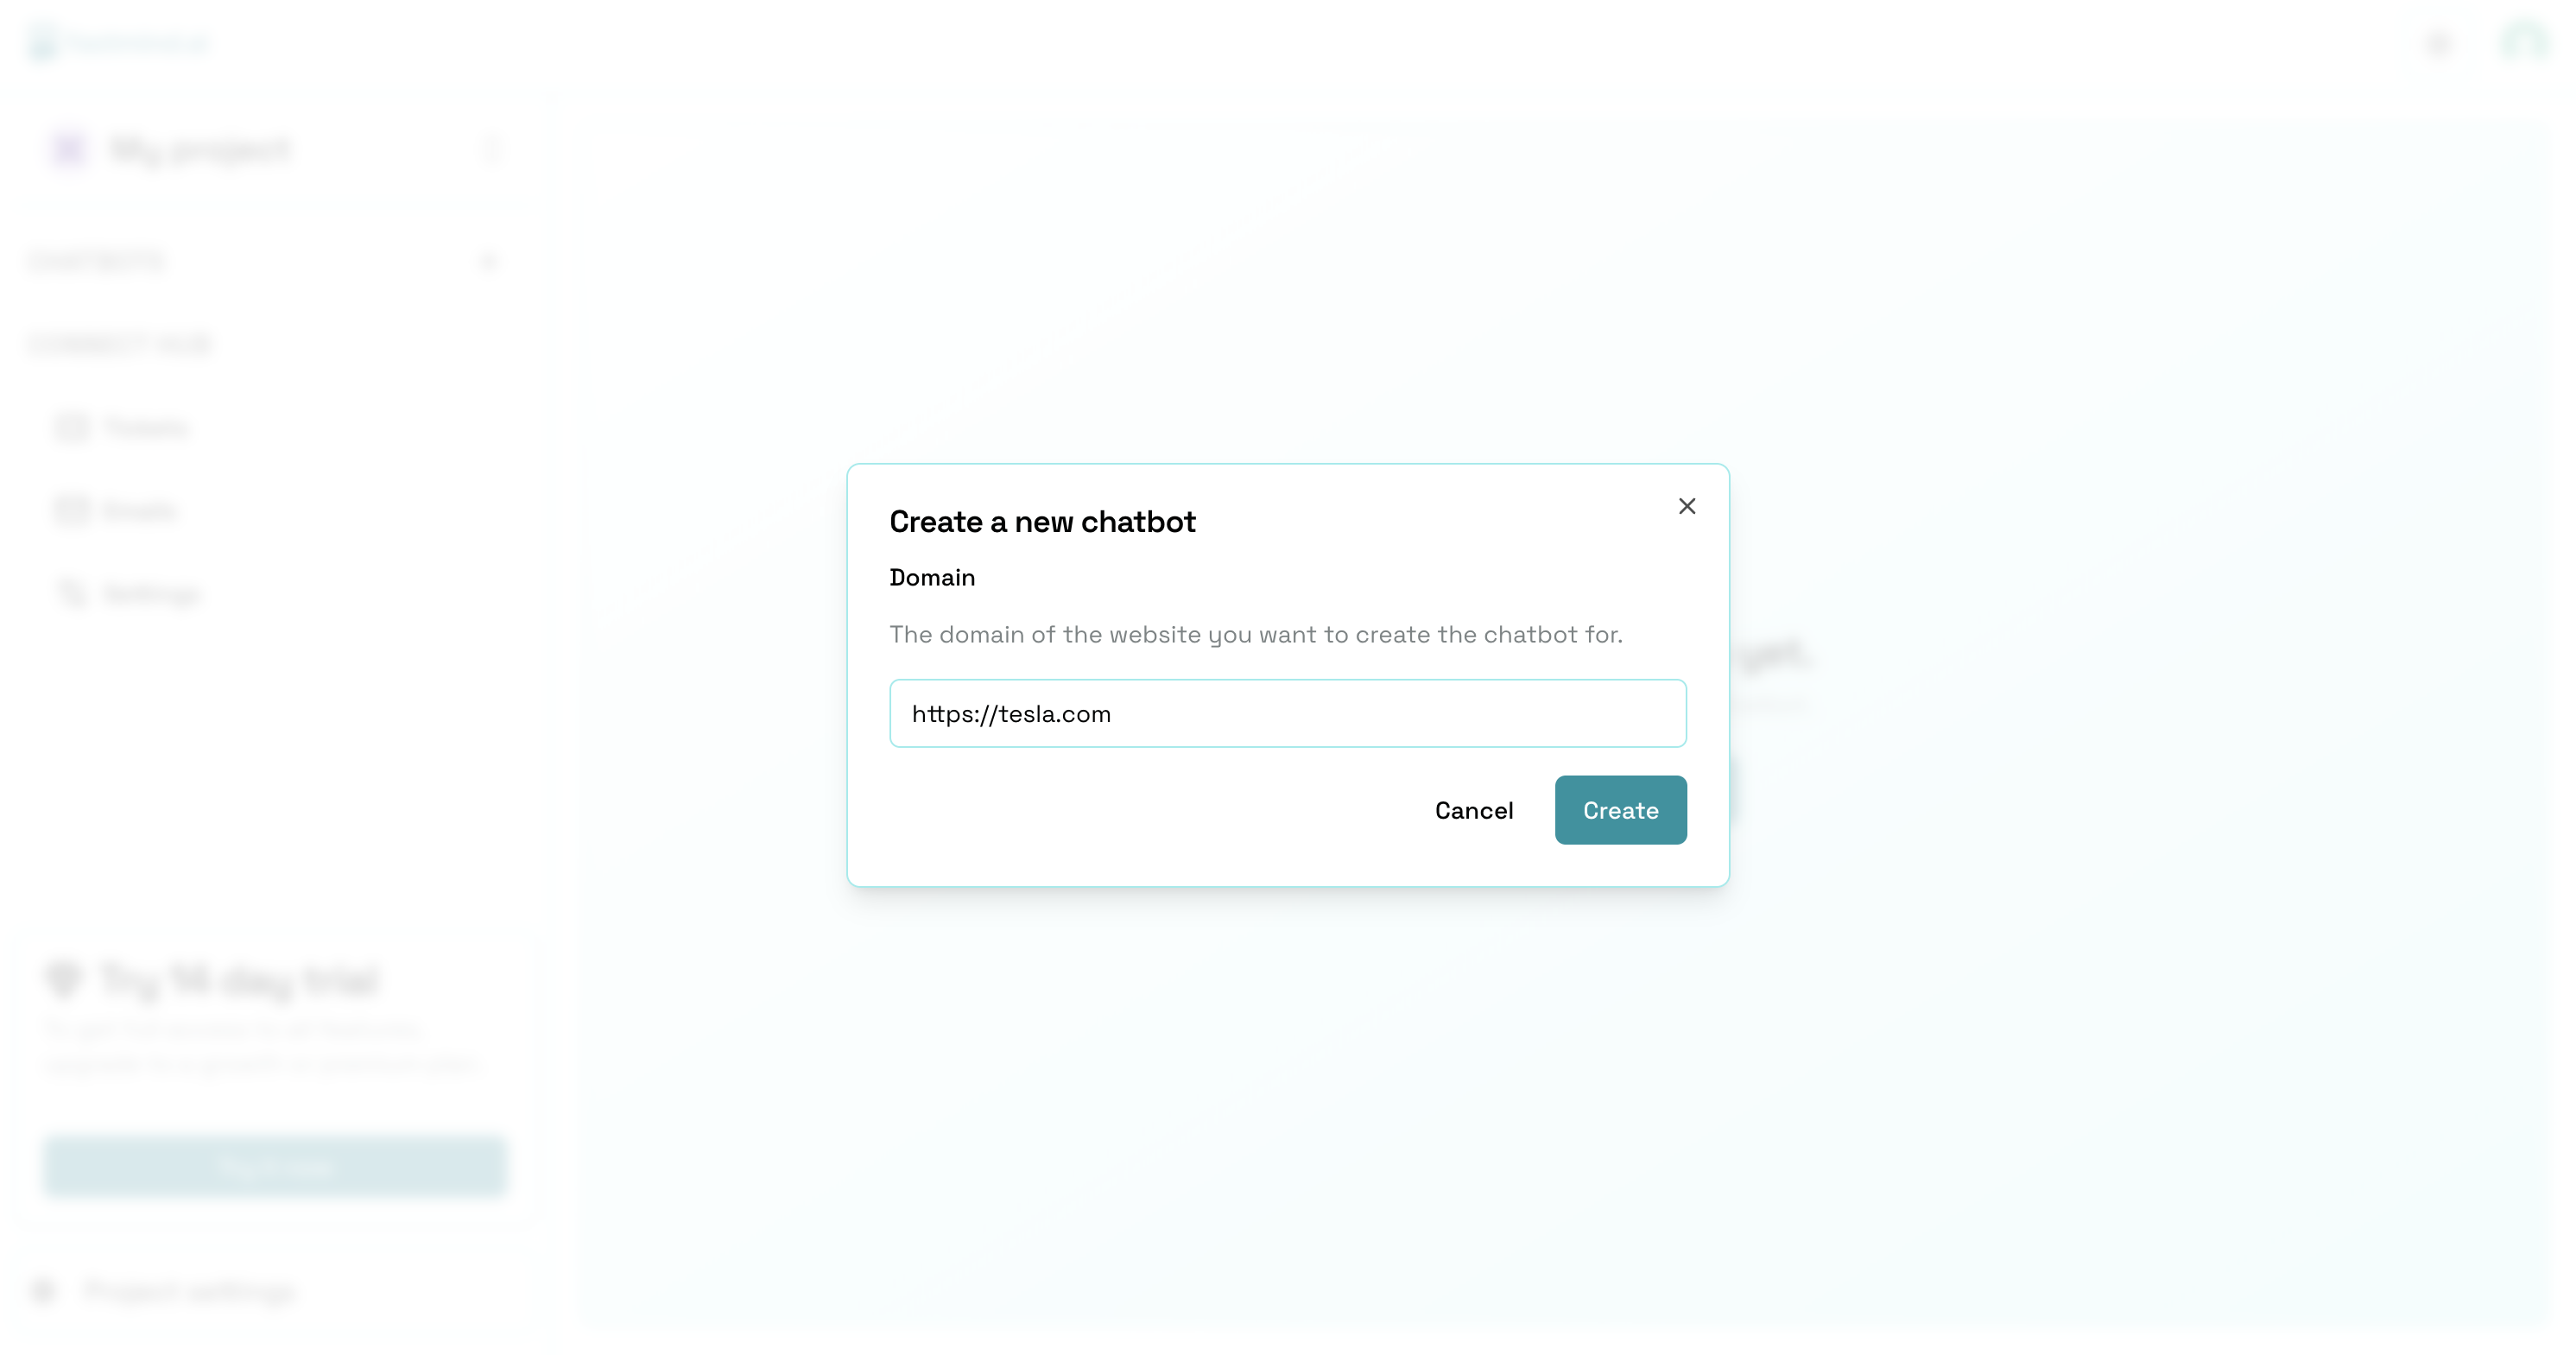
After naming your project, you can now create your chatbot. Click on the "Create your first chatbot" button and enter the full URL of your website; it's essential to include the full URL, including the HTTPS bit. This will create a chatbot linked to your website's content to perform searches on that domain; you can change this later.
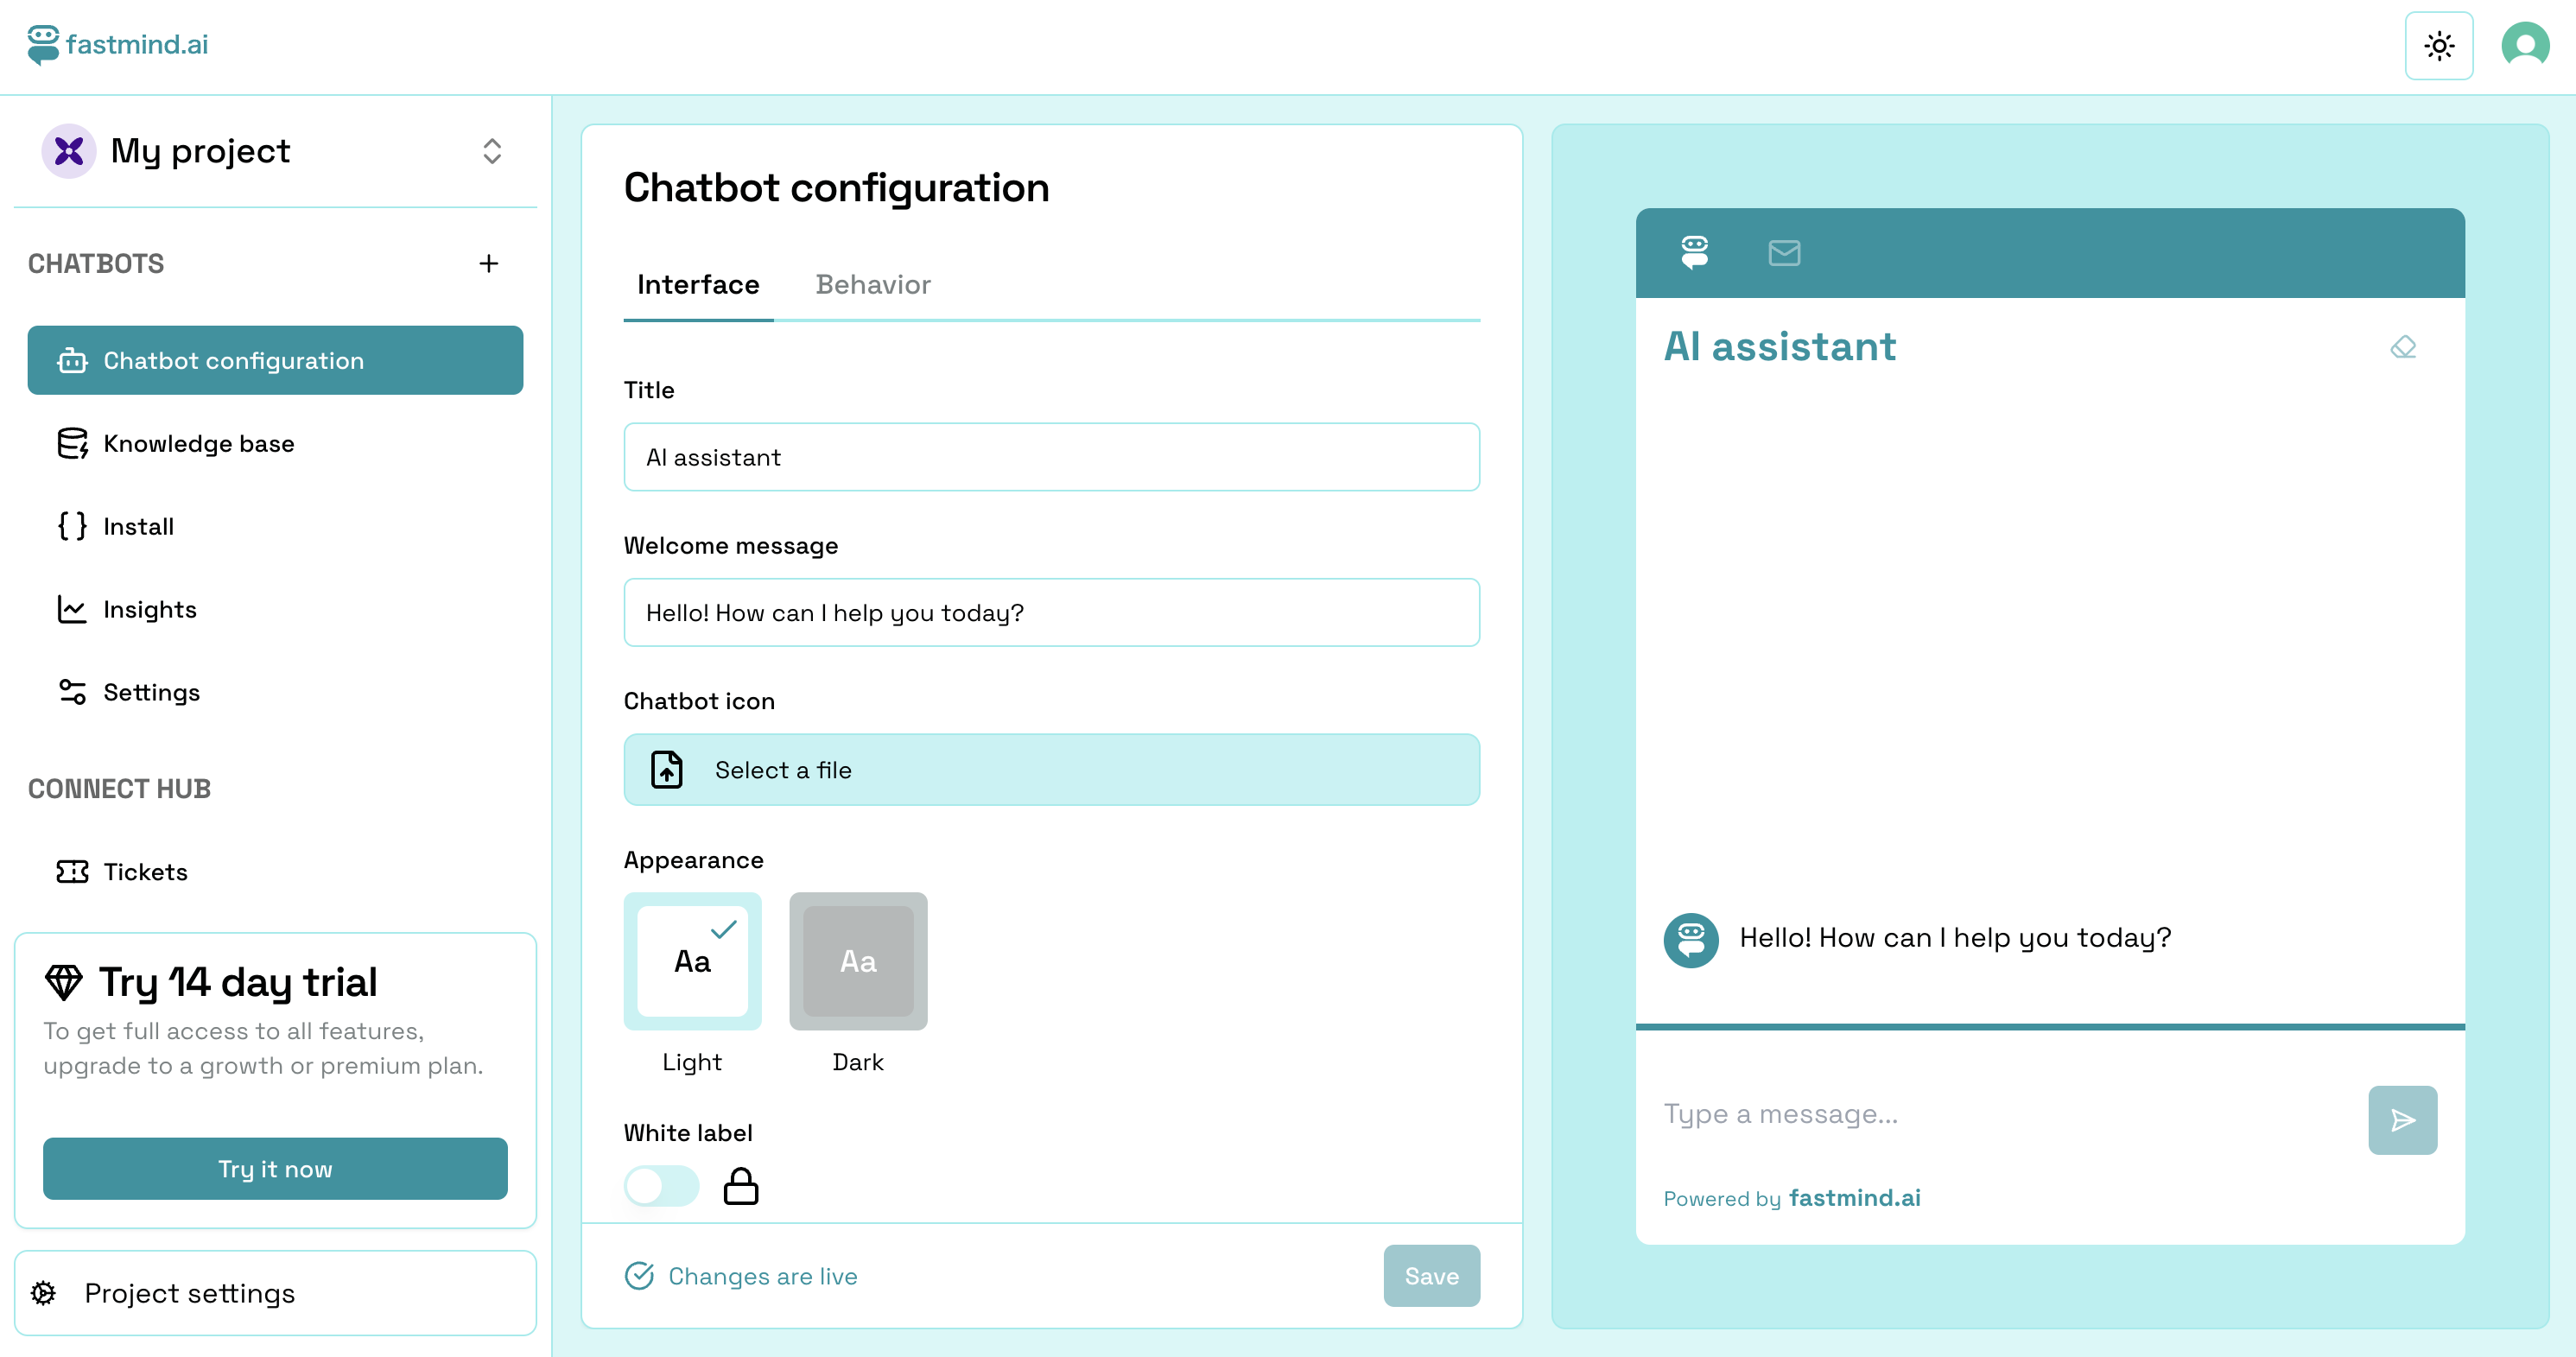
You will be redirected to the main page of the dashboard, where you can preview your chatbot interface and chat with it. This is also where you will configure the chatbot's behavior, add a knowledge base for the chatbot to use, and style the chatbot's interface.
If you click on the "Behavior" tab, you can configure the chatbot's behavior, set custom instructions that the chatbot will follow, and set its tone.

At this stage, you've developed a fully operational chatbot capable of answering questions using the knowledge base you provided. Currently, it retrieves answers from the specified website URL. Next, let's enhance the chatbot's knowledge by incorporating additional information sources.
Step 2: Adding knowledge base to your chatbot
Click on the "Knowledge base" section to configure the chatbot's knowledge. This is where your chatbot will get the information it needs to answer questions. You can add three types of knowledge sources to your chatbot.
- Web search — This is where you can add websites that the chatbot can search for information on. Based on the website URL you provided, this has already been added for you.
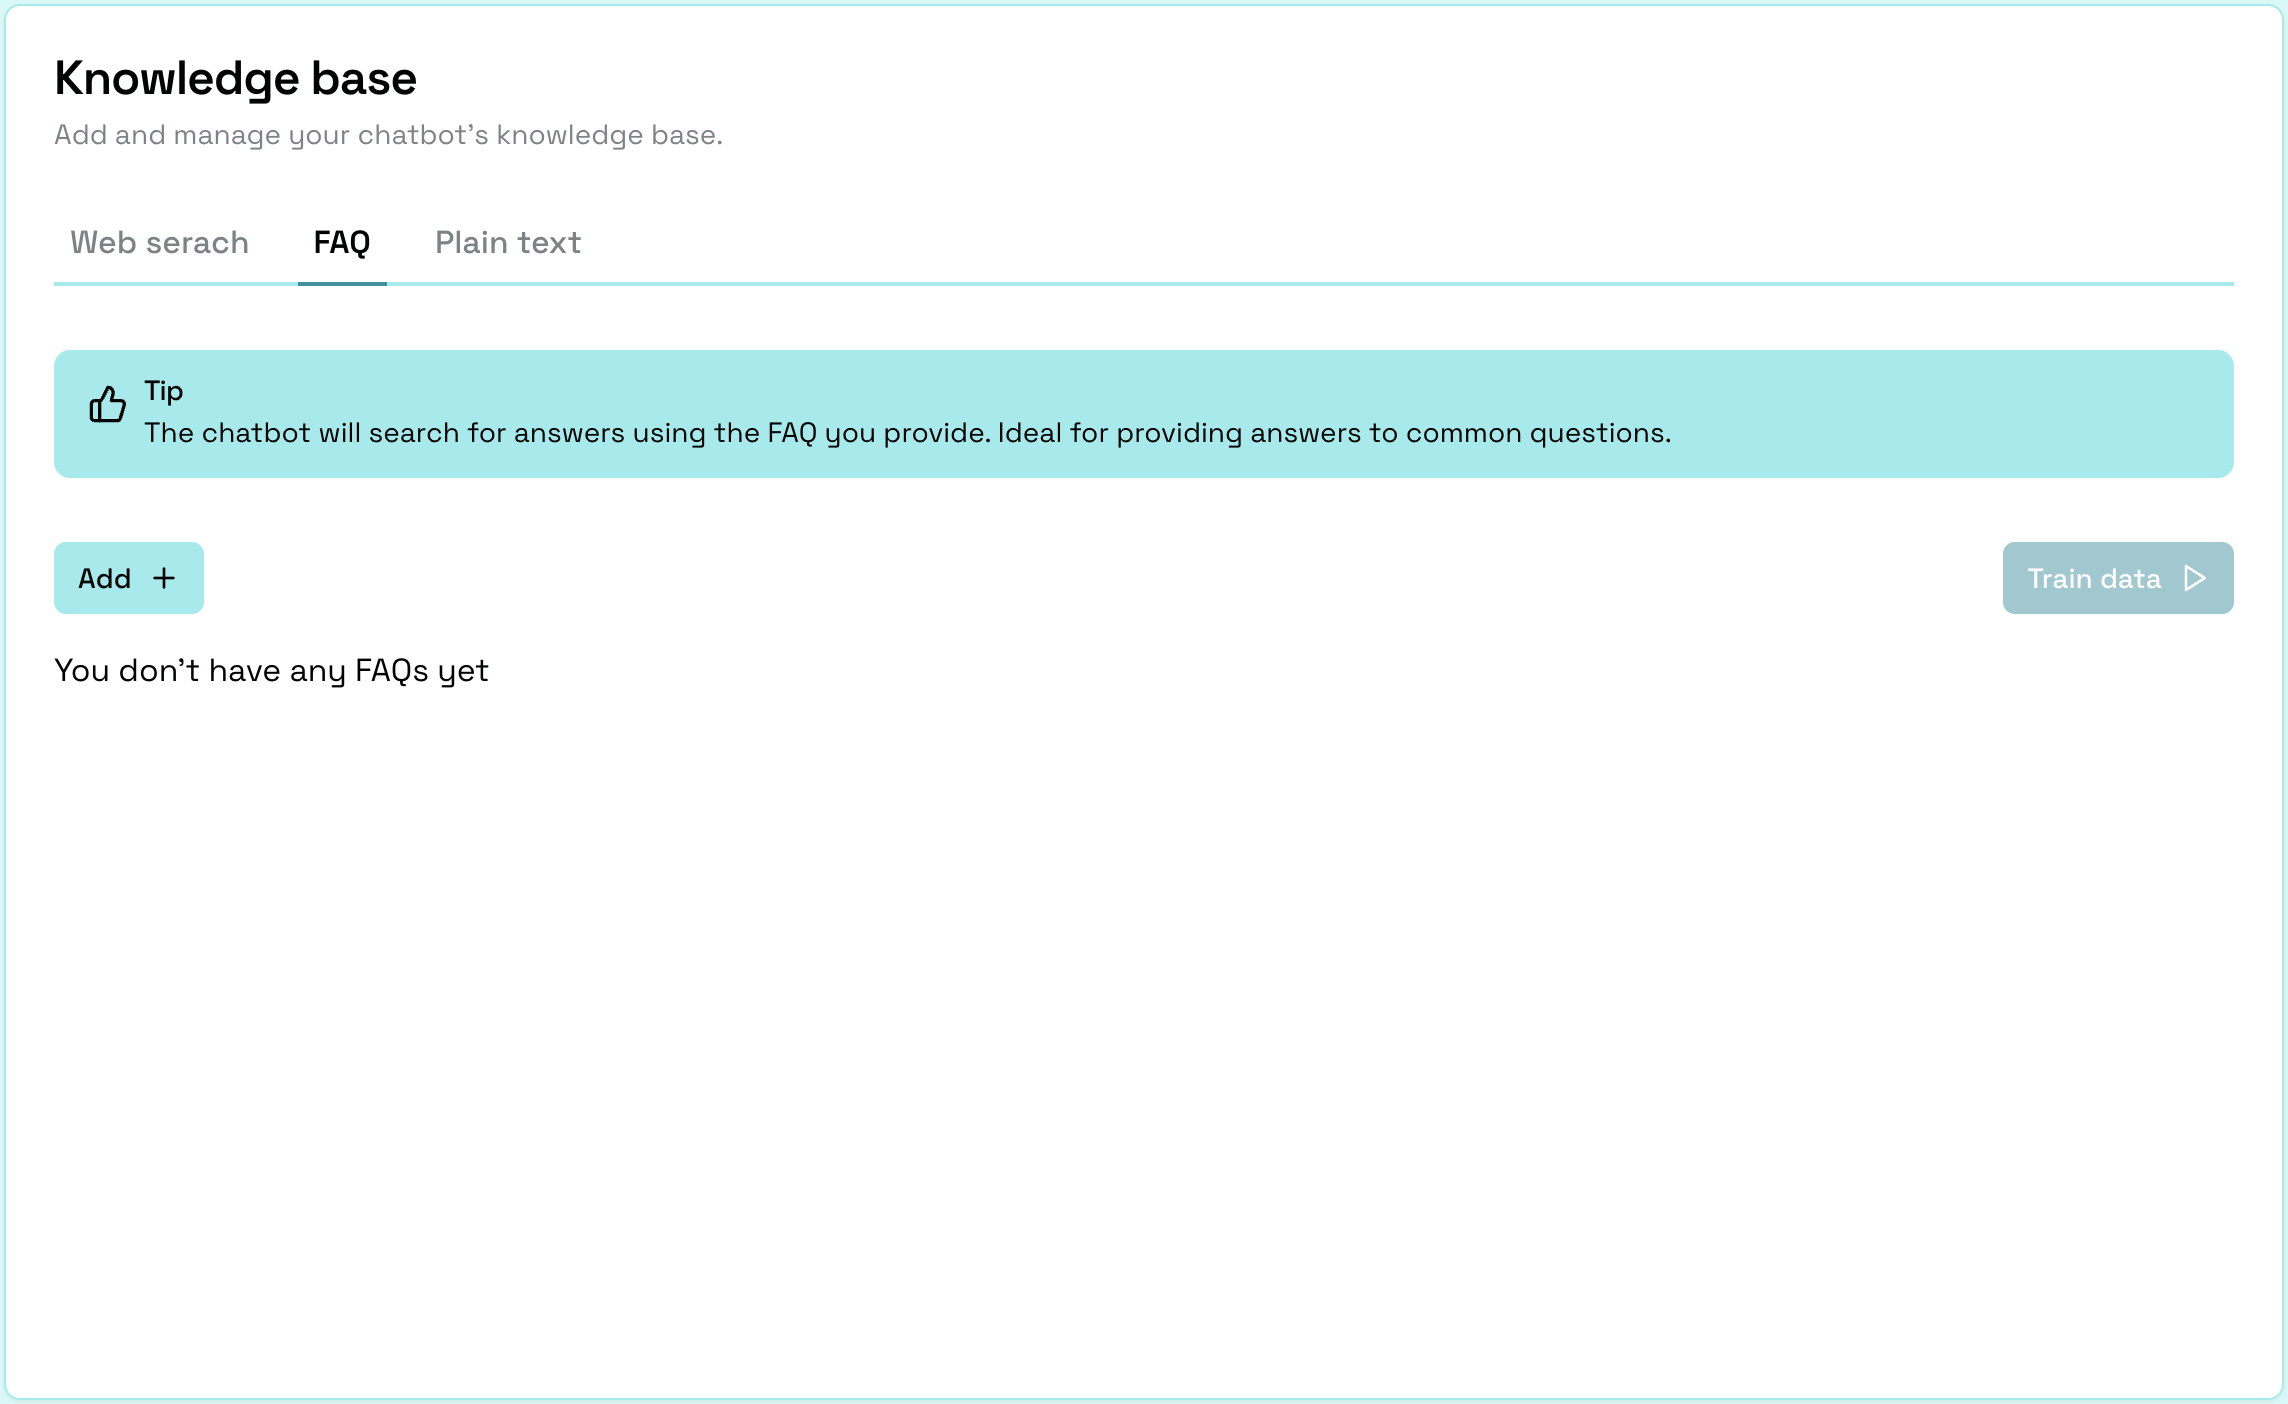
- FAQs - This is where you can add frequently asked questions and answers that the chatbot can use to answer questions.
- Plain text - You can add plain text that the chatbot can use to answer more detailed questions. Ideal for large text documents or manuals.
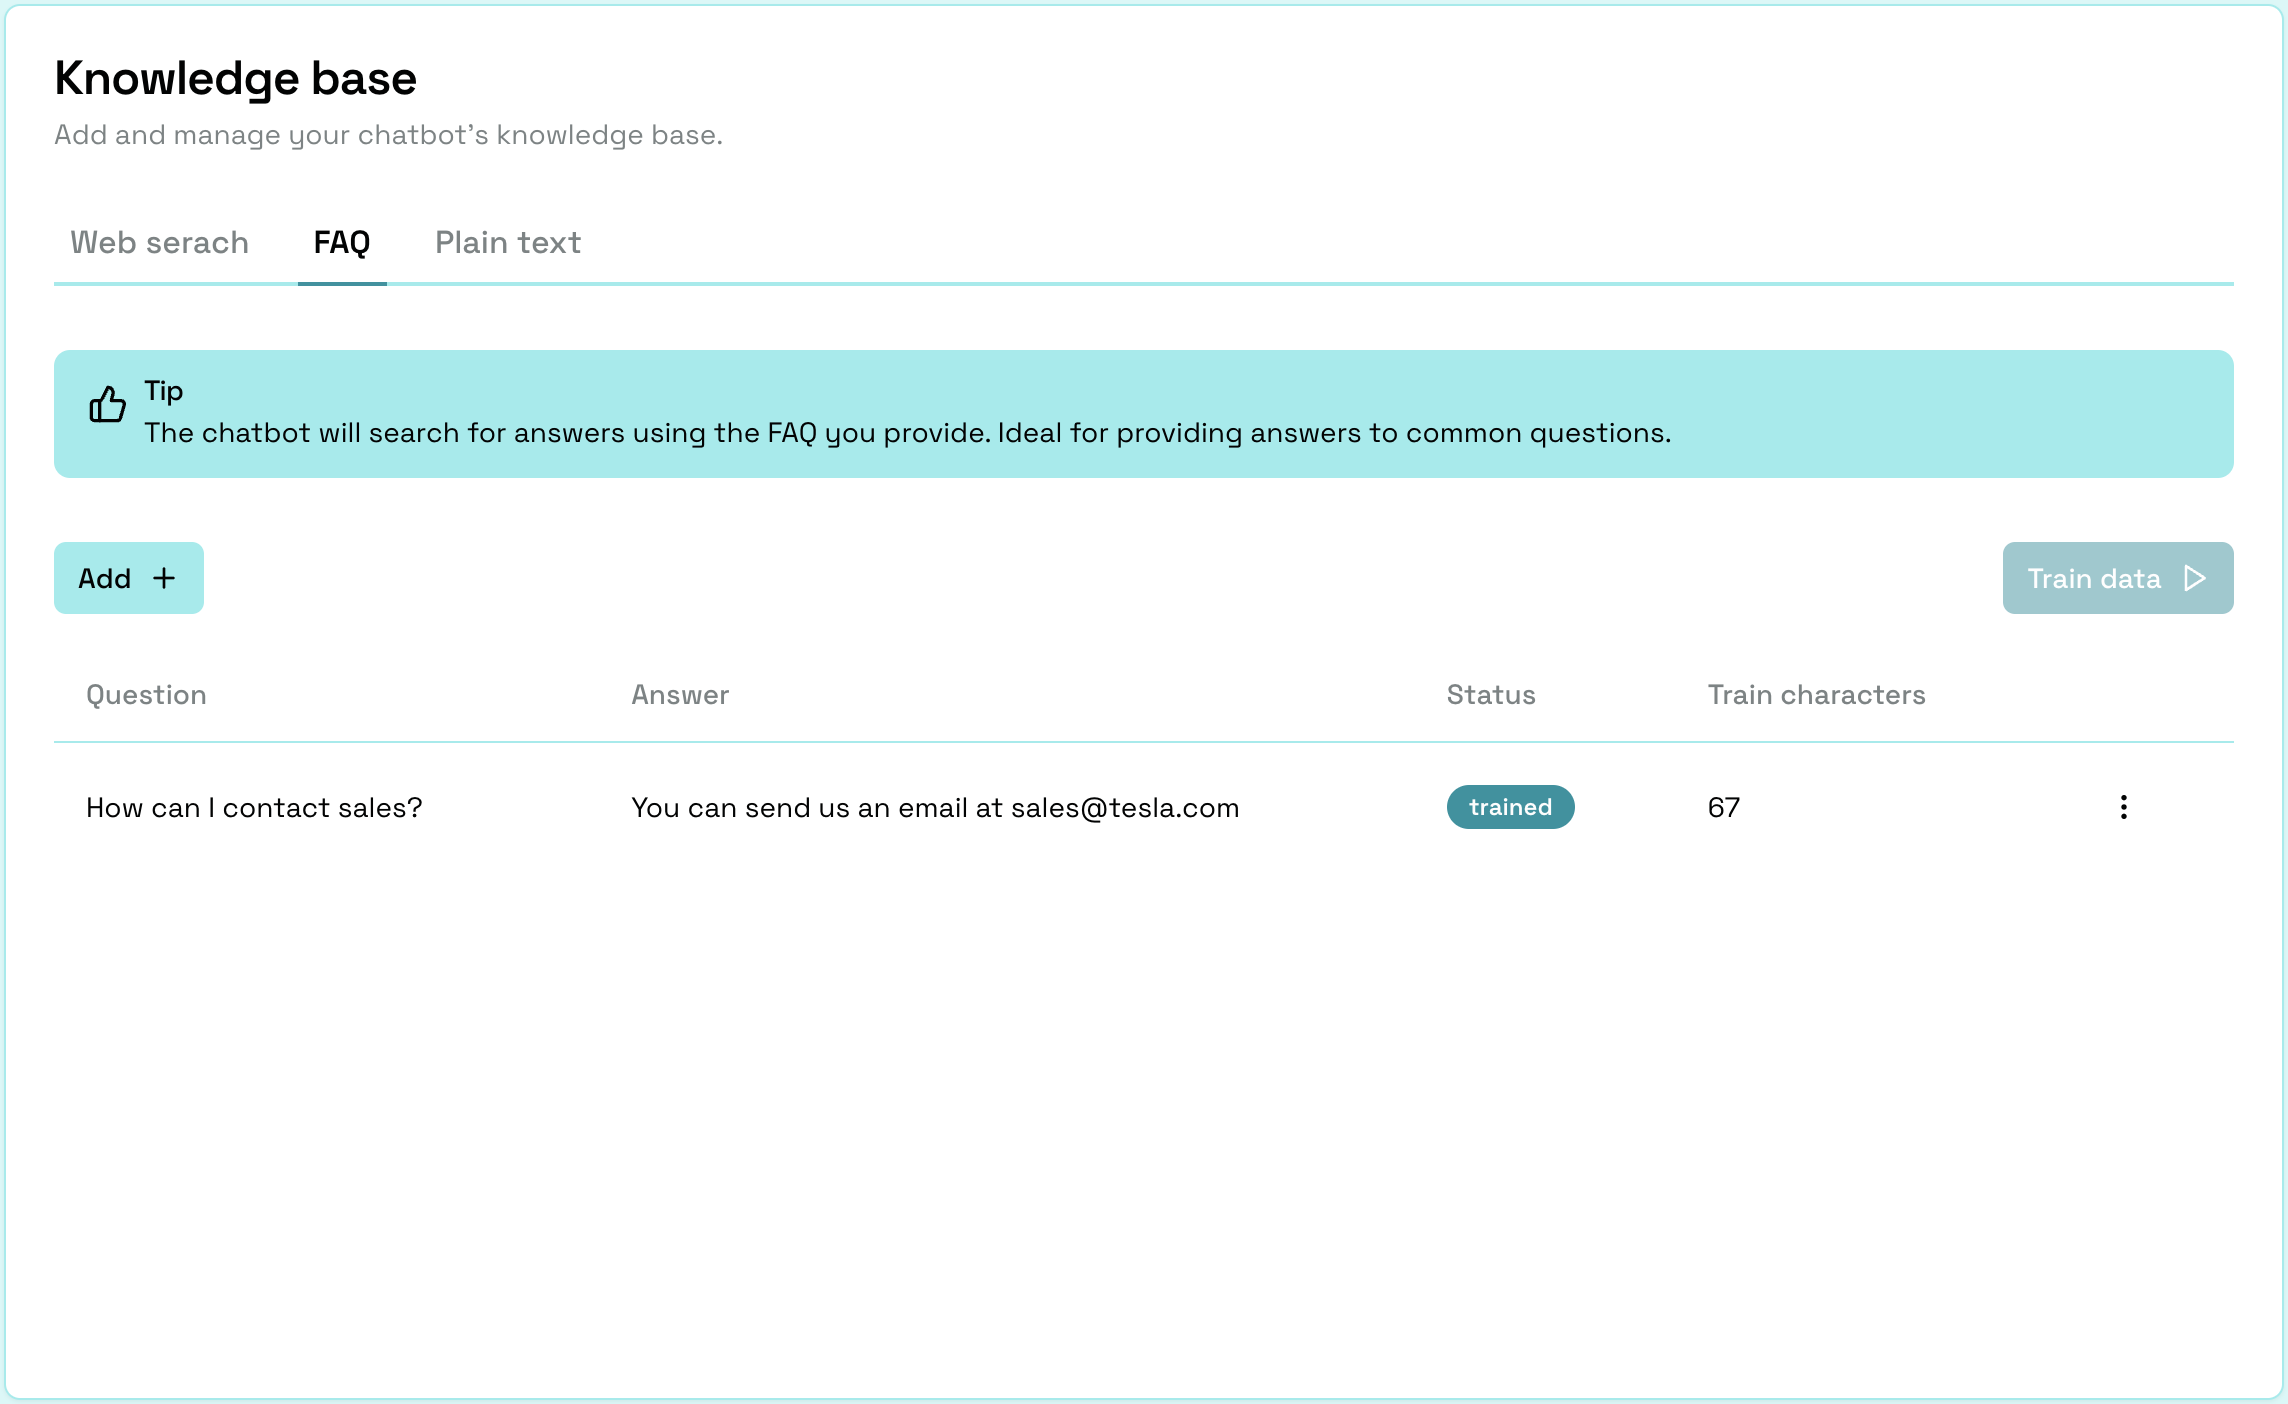
Navigate to the "FAQs" tab and add frequently asked questions and answers. When you first navigate to the "FAQs" tab, you will see an empty table. Click on the "Add FAQ" button to add your first FAQ.
Let's say we want to add an FAQ about how to contact sales. Click on the "Add" button, enter the question, and answer it as you would in any FAQ.
You can add as many as you want; keep your project's limits in mind. At the bottom of the dialog form, you can see how many resources will be required to train the model with this new entry.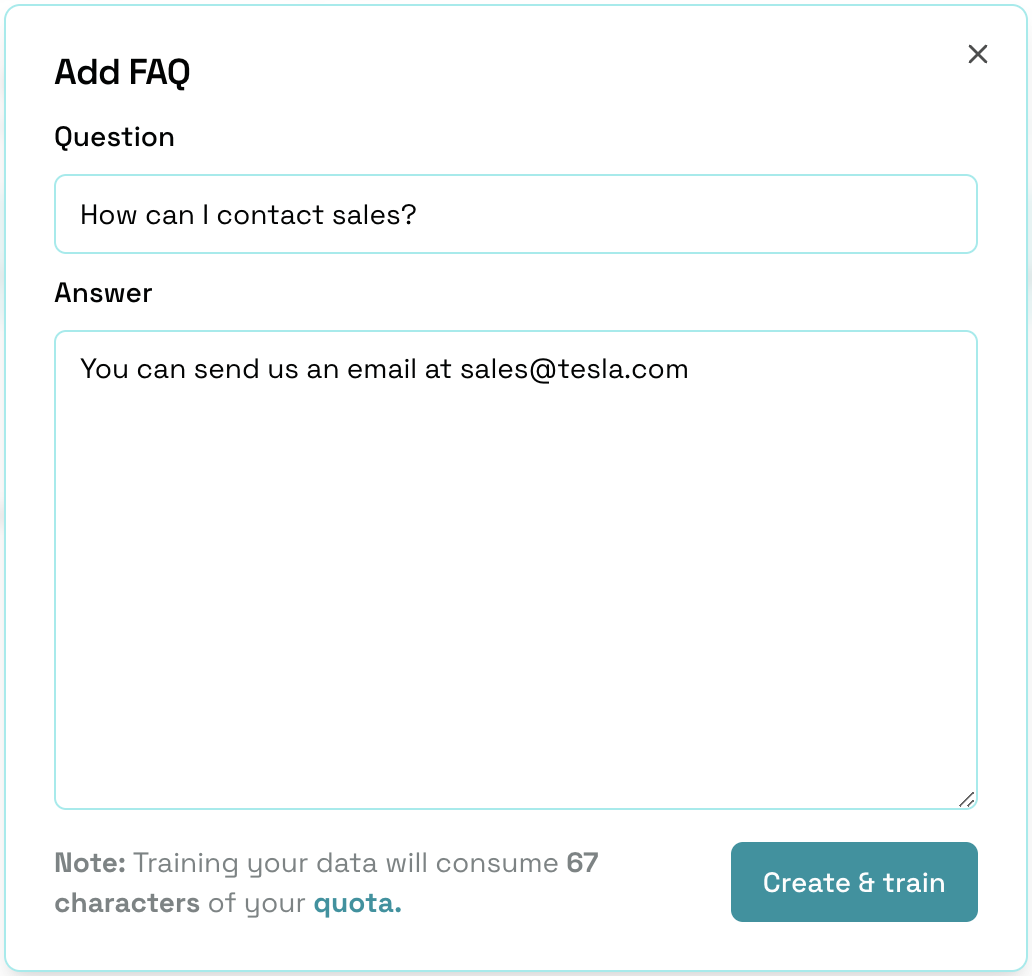
After clicking on the "Create & train" button, you will see the new FAQ entry in the table. Once the status changes to "Trained," you can start using the new FAQ entry. This usually takes a few seconds.
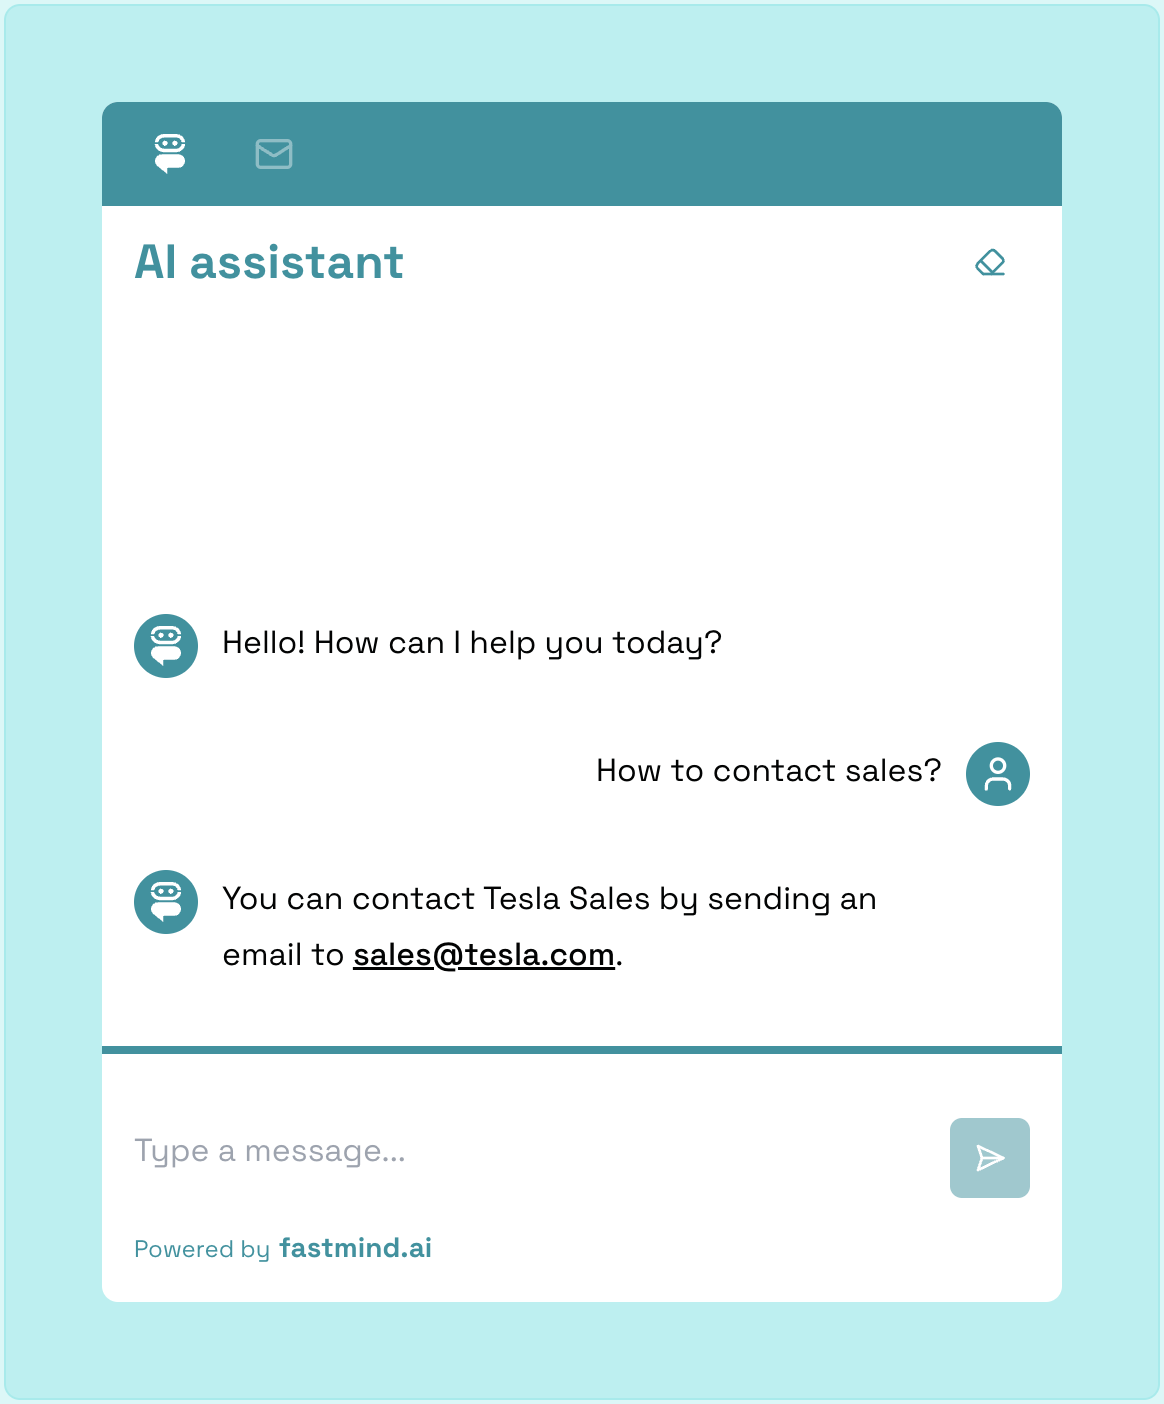
Now that we have added our first FAQ entry let's try it out. Go back to the chatbot interface and ask the question you asked in the FAQ. It can be phrased differently as long as it has the same meaning. The chatbot should be able to answer the question based on your provided knowledge.
Step 3: Style your chatbot (optional)
Go back to "Chatbot Configuration," and the default tab is "Interface." Here, you can configure the chatbot's appearance, such as changing the color scheme, turning on the white label, which removes the "powered by Fastmind.ai" label, changing the welcome message, chatbot icon, and more. Adjust the settings to your liking and click the "Save" button.
Step 4: Adding the chatbot to your website
There is only one step left! To add the chatbot to your website, click on the "Install" tab on the dashboard's navigation bar. This will open a page where you can choose from two options: a chat bubble or a full chat window.
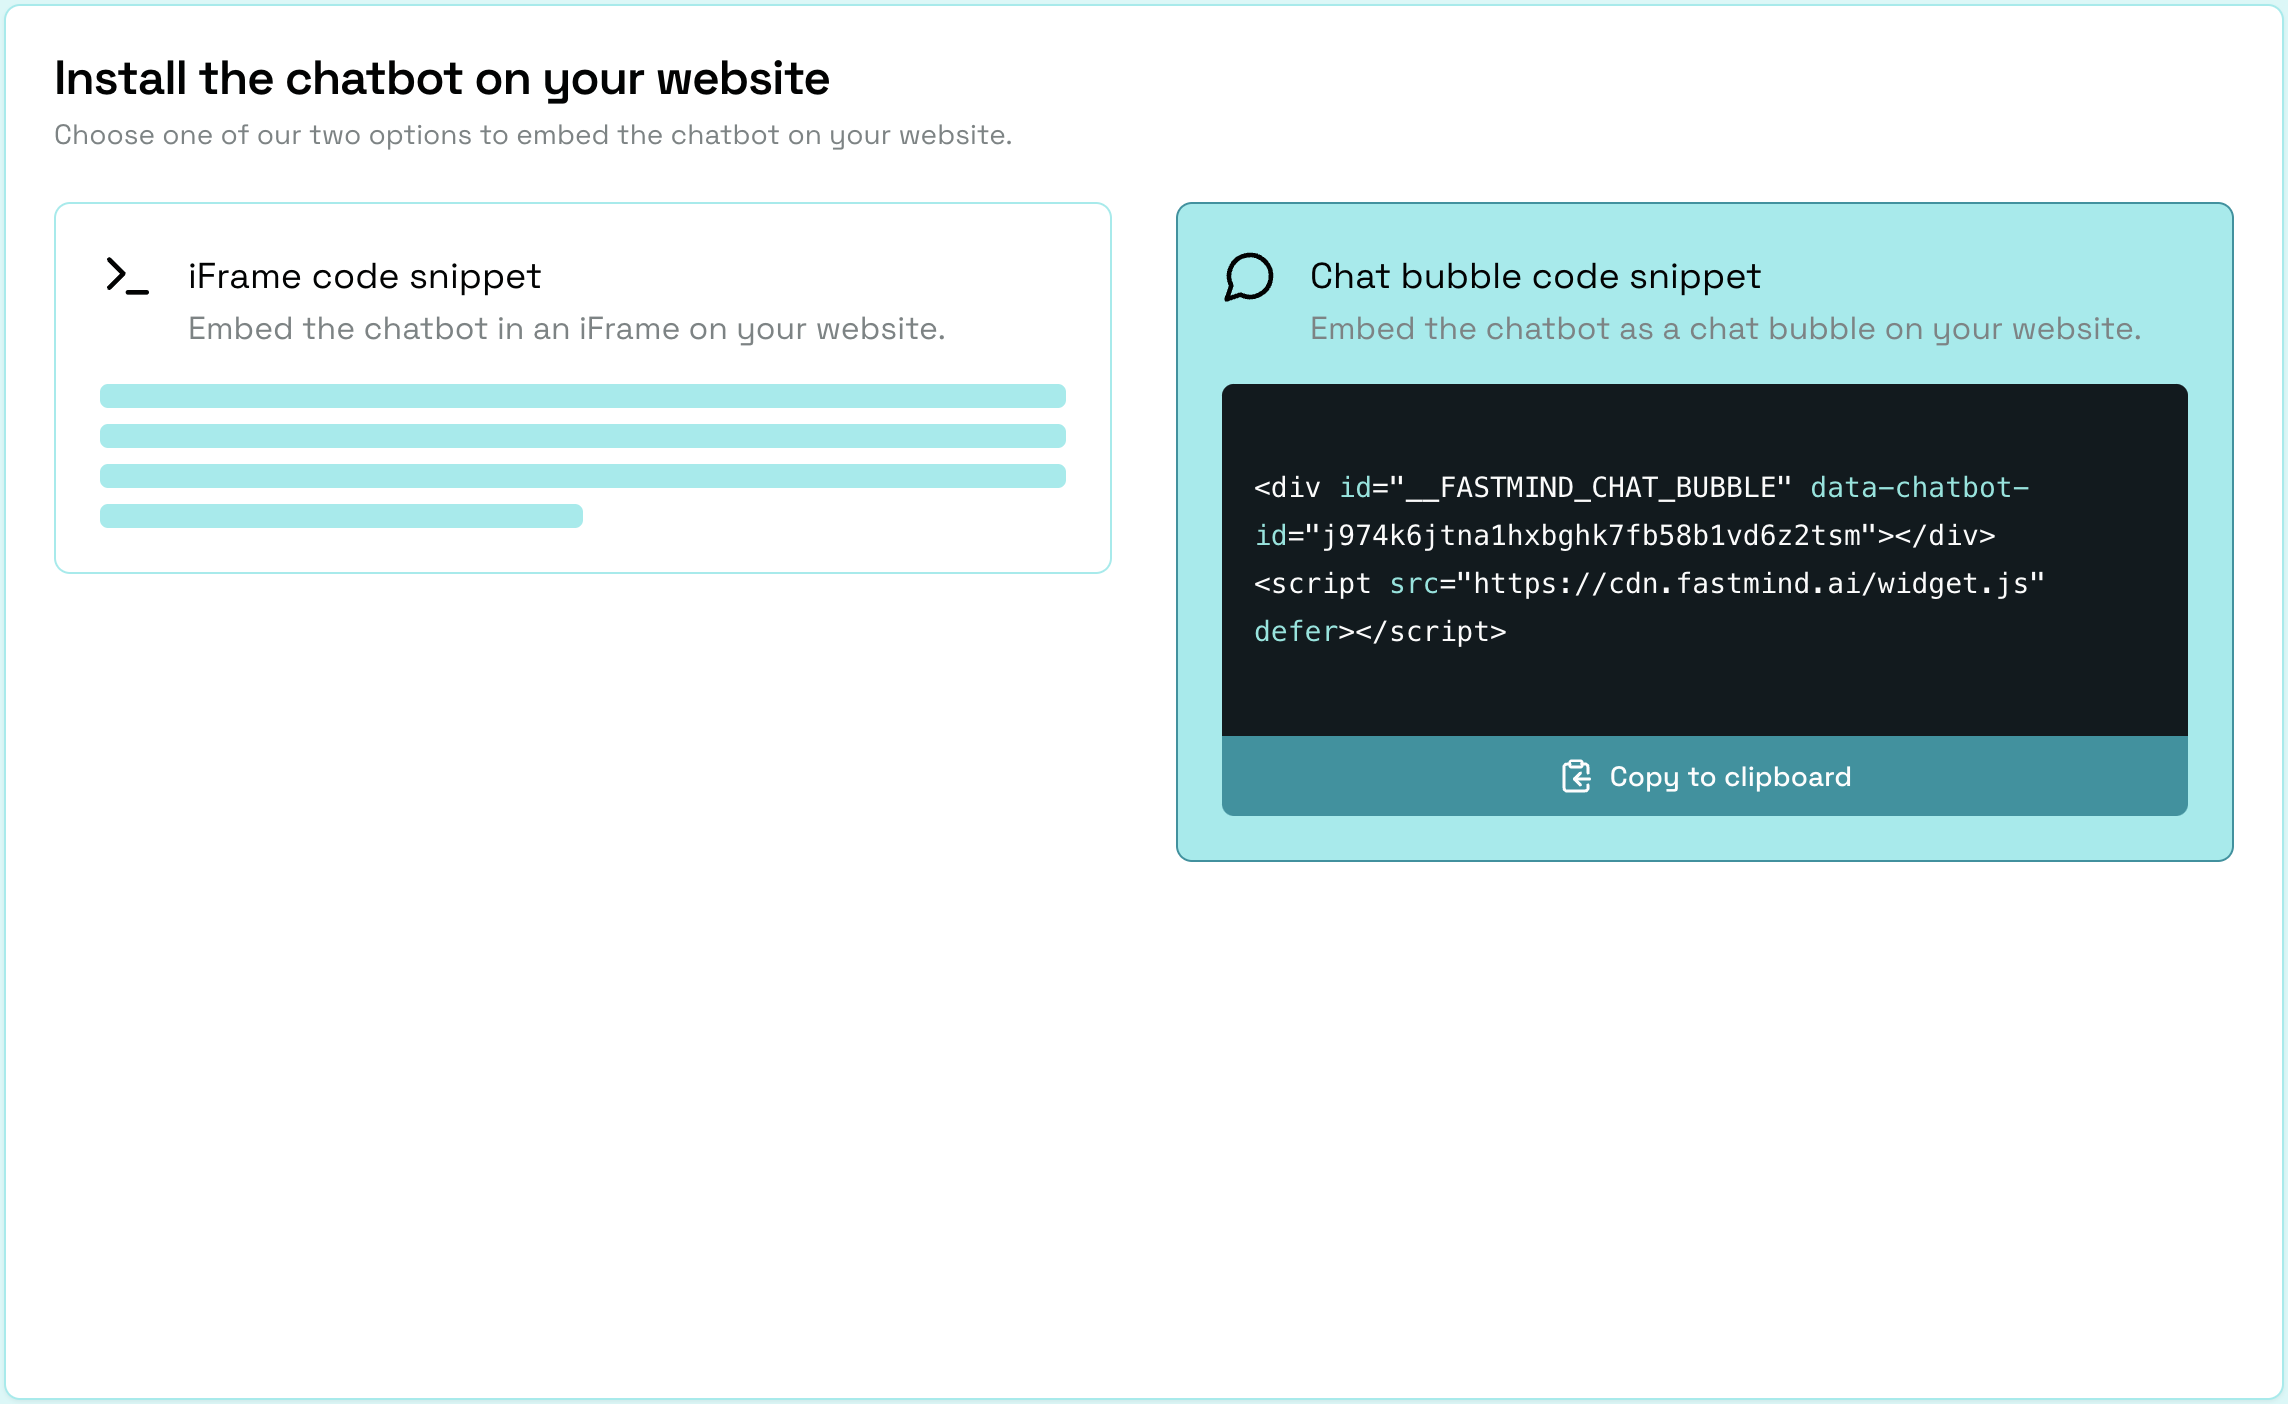
Let's choose the chat bubble option for this guide. Click the "Copy" button to copy the code snippet to your clipboard and add it to your website's HTML code.
That's it! You have successfully added an AI chatbot to your website. Your users can now interact with this chatbot to get instant responses to their questions. You can always go back to the Fastmind.ai dashboard to monitor the chatbot's performance, understand what your users are asking or struggling with, and add more knowledge sources as needed.
In addition to having a fully functioning chatbot, our widget also has a built-in ticketing system that allows users to submit tickets to your support team. These tickets can be labeled as Feature requests, bugs, or messages. You can manage these tickets from the Fastmind.ai dashboard and generate answers using AI.
If you have any questions or need further assistance, feel free to contact the Fastmind.ai support team.